Part 5: Right Servo
Right Side
We are going to give you a lot less information and pictures for the right side. You should find that it is nearly the same as the left side. If you are having trouble with how to adapt what you know about the left side to the right, be sure to ask for assistance.
Right Servo
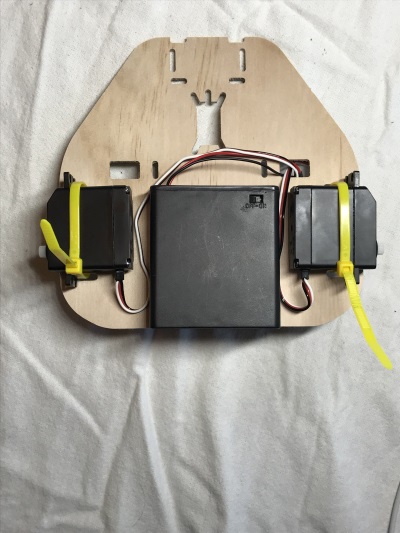
Attach the right servo similarly to the way you attached the left servo. Be very careful not to damage the wires on the top side of the robot
- Make sure the servo wires are at the rear of the robot
- Make sure the double sided tape is lined up with the access holes
- Zip tie the servo to the chassis
- Route the servo wire through the access hole in the chassis

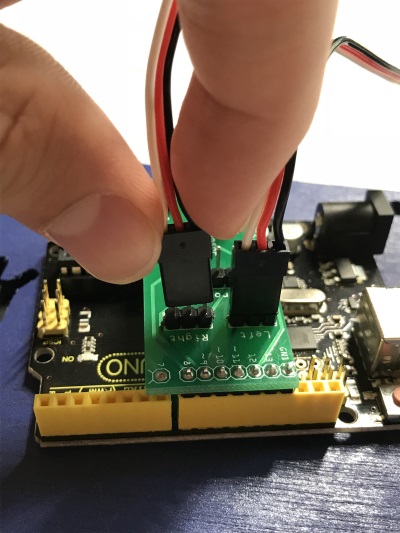
- Attach the servo wires to the pins labeled right on the circuit board
- The black wire should be closest to the hartland robotics printing

Driving the Right Servo
If you take a look at the chassis tab in the Arduino IDE, you will see many items named with “left”. You will need a “right” version of each of these lines
- You will need to declare a rightWheel
- You will need to assign the rightWheelPin to 11
- You will need to assign values to Forward and Back. Be sure to test this. You may find that since the servos are attached with opposite orientation, the values will need to change
- Setup will need to set up both wheels
- Each of the drive methods will need to drive both wheels
Testing
Compile and upload your current sketch to the Arduino to make sure it is working correctly. You want to make sure that both sides are going forward as expected.
