Part 6: Let's Drive!
Now that we have two drive motors on the robot, we would like to do some test driving. You may have noticed however that we have no wheels or any way to keep the front of the robot off of the floor. Let’s go fix that now
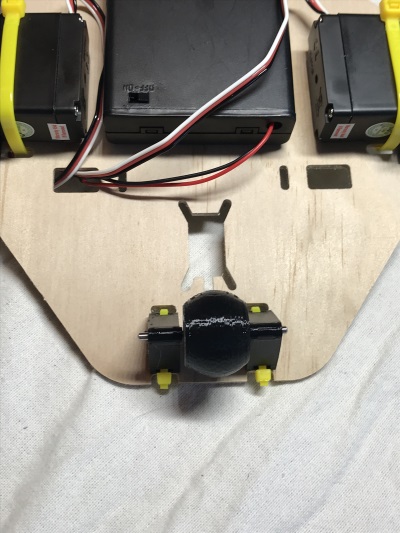
Attach Front roller
- Locate the roller in your kit
- Put two small zip ties through the small holes in the legs of the roller

- Attach the roller to the bottom of the robot in the front.

Attach the Rear Wheels
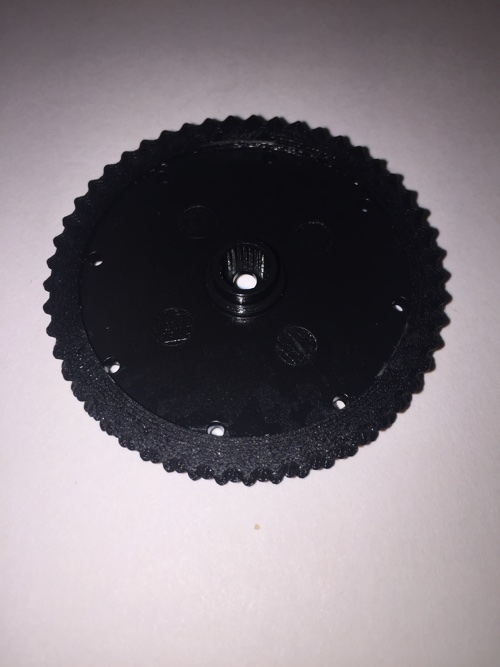
- Locate the large round servo horn in each of the small bags that came with your servos
- Locate the tread we will use in your kit
- Press the servo horn into the center of the tread, then use a small black screw from the servo bag to attach the wheel. If you are having trouble with this,ask for assistance

- Attach the each wheel to the servo using the small black phillips (+) head screw that is in the small bag that came with your servos
Update the robot code
- Inside of the mazerunner tab update the code in the loop method to
- driveForward
- wait 2 seconds
- driveBack
- wait 2 seconds
When complete your loop method should look like this:
Testing
Compile and upload your current sketch to the Arduino to make sure it is working correctly. Your robot should now drive forward and backward after deploying
** This means that your robot will be moving as soon as the code has deployed to the Arduino. **
Make sure you are prepared to keep your robot from falling off of the table.
Less Boring, Please
Ok, so driving forward and back is not all that interesting. But, we had to get the simple things working before we could do more interesting things. Now we will add a method to turn the robot.
- Add a method in the chassis tab called driveTurnRight
- In this method, we will need to make the left wheel go forward and the right wheel back
- We will pick an amount of time that we think it will take to turn. You might have to adjust this for your robot. Really, every robot is different
- Update the code in the loop method on the mazerunner tab to
- driveForward
- wait 2 seconds
- turn right
Your Turn
You see what I did there. Next up, left turns. This time, you determine what the code should look like based on the right turn code. If you need help, be sure to ask for assistance.
- Make a method in the chassis tab to turn left. Note that you should be able to reuse the variable declared for turnTime
- Update your loop code to test it
