Part 3: Attaching Left Servo
Left Servo
Next we will add our first drive servo. This will be the servo that powers the left wheel of the robot.
- Turn over the robot so that you can see the bottom of the chassis
- Be careful not to crush the wires you attached from the battery pack to the circuit board while doing this
- Take a piece of double sided tape and place it in between the two zip tie access holes making sure it is in the middle
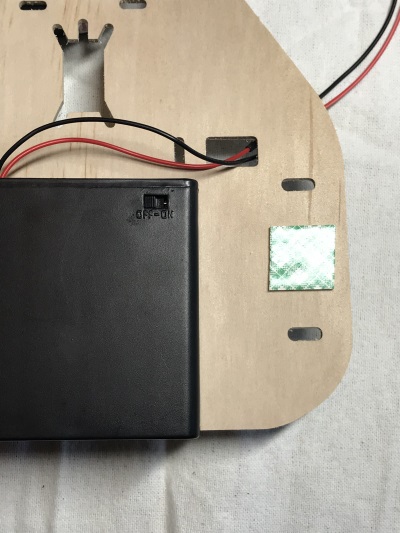
- Attach one of your servos on the side to your right.
- Make sure that the access holes for zip ties are still open
- Make sure the servo wires are facing the rear of the robot
- Make sure the mounting brackets on the servo are lined up with the outside of the zip tie access holes
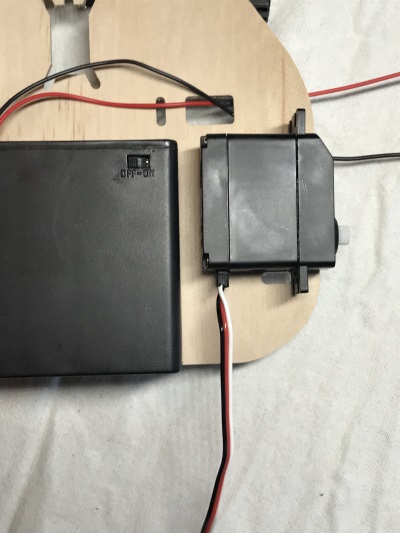
- Use one of your large zip ties to secure the servo to the chassis.
- This zip ties will route through the access holes on both sides of the servo
- Ask for assistance if you need help tightening this zip tie without causing damage
- You may also trim off the excess zip tie with side cutters
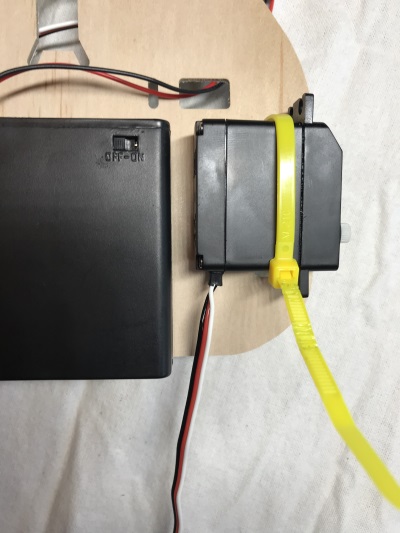
- Route the servo wire up between the servo and the battery pack and then through one of the large access holes.
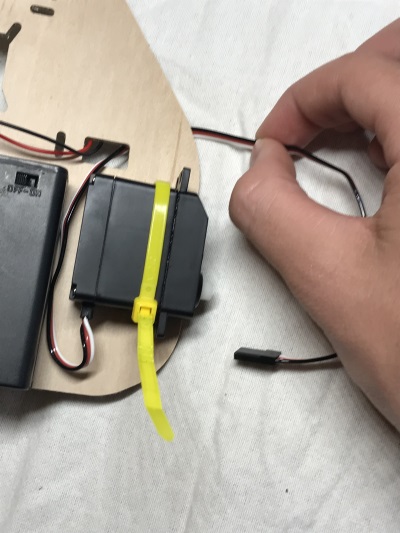
- Turn over the robot so that you can see the top of the chassis
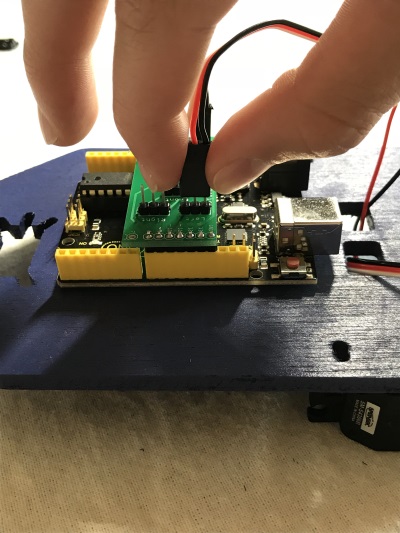
- Attach the servo wires to the circuit board on the pins labeled left
- Make sure the black wire is closer to the hartland robotics printing on the circuit board.
