Part 7: Front Servo
We now have a chassis that can drive around a maze. But, it needs some guidance. At this point, we will start adding a distance sensor mounted on top of a servo so that we can see how far things are in multiple directions.
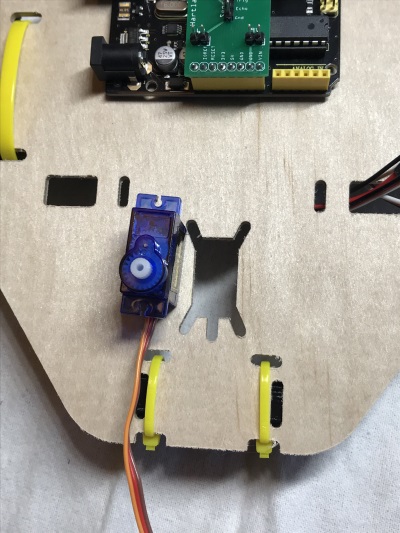
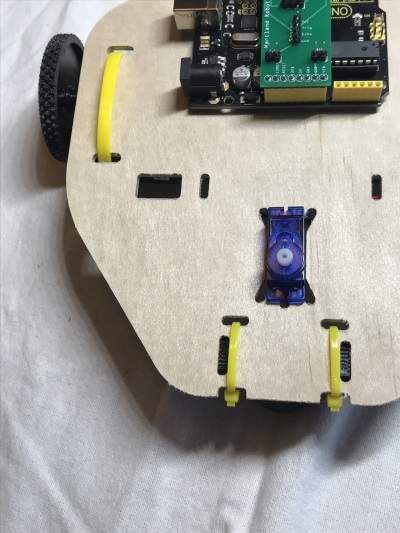
Attach the Front Servo
- Locate the mini-servo in your kit
- Note the location on the front of the robot where the servo should be placed. Also notice the notch that will allow the servo wire to pass through the chassis

- Insert the servo and zip tie it to the chassis

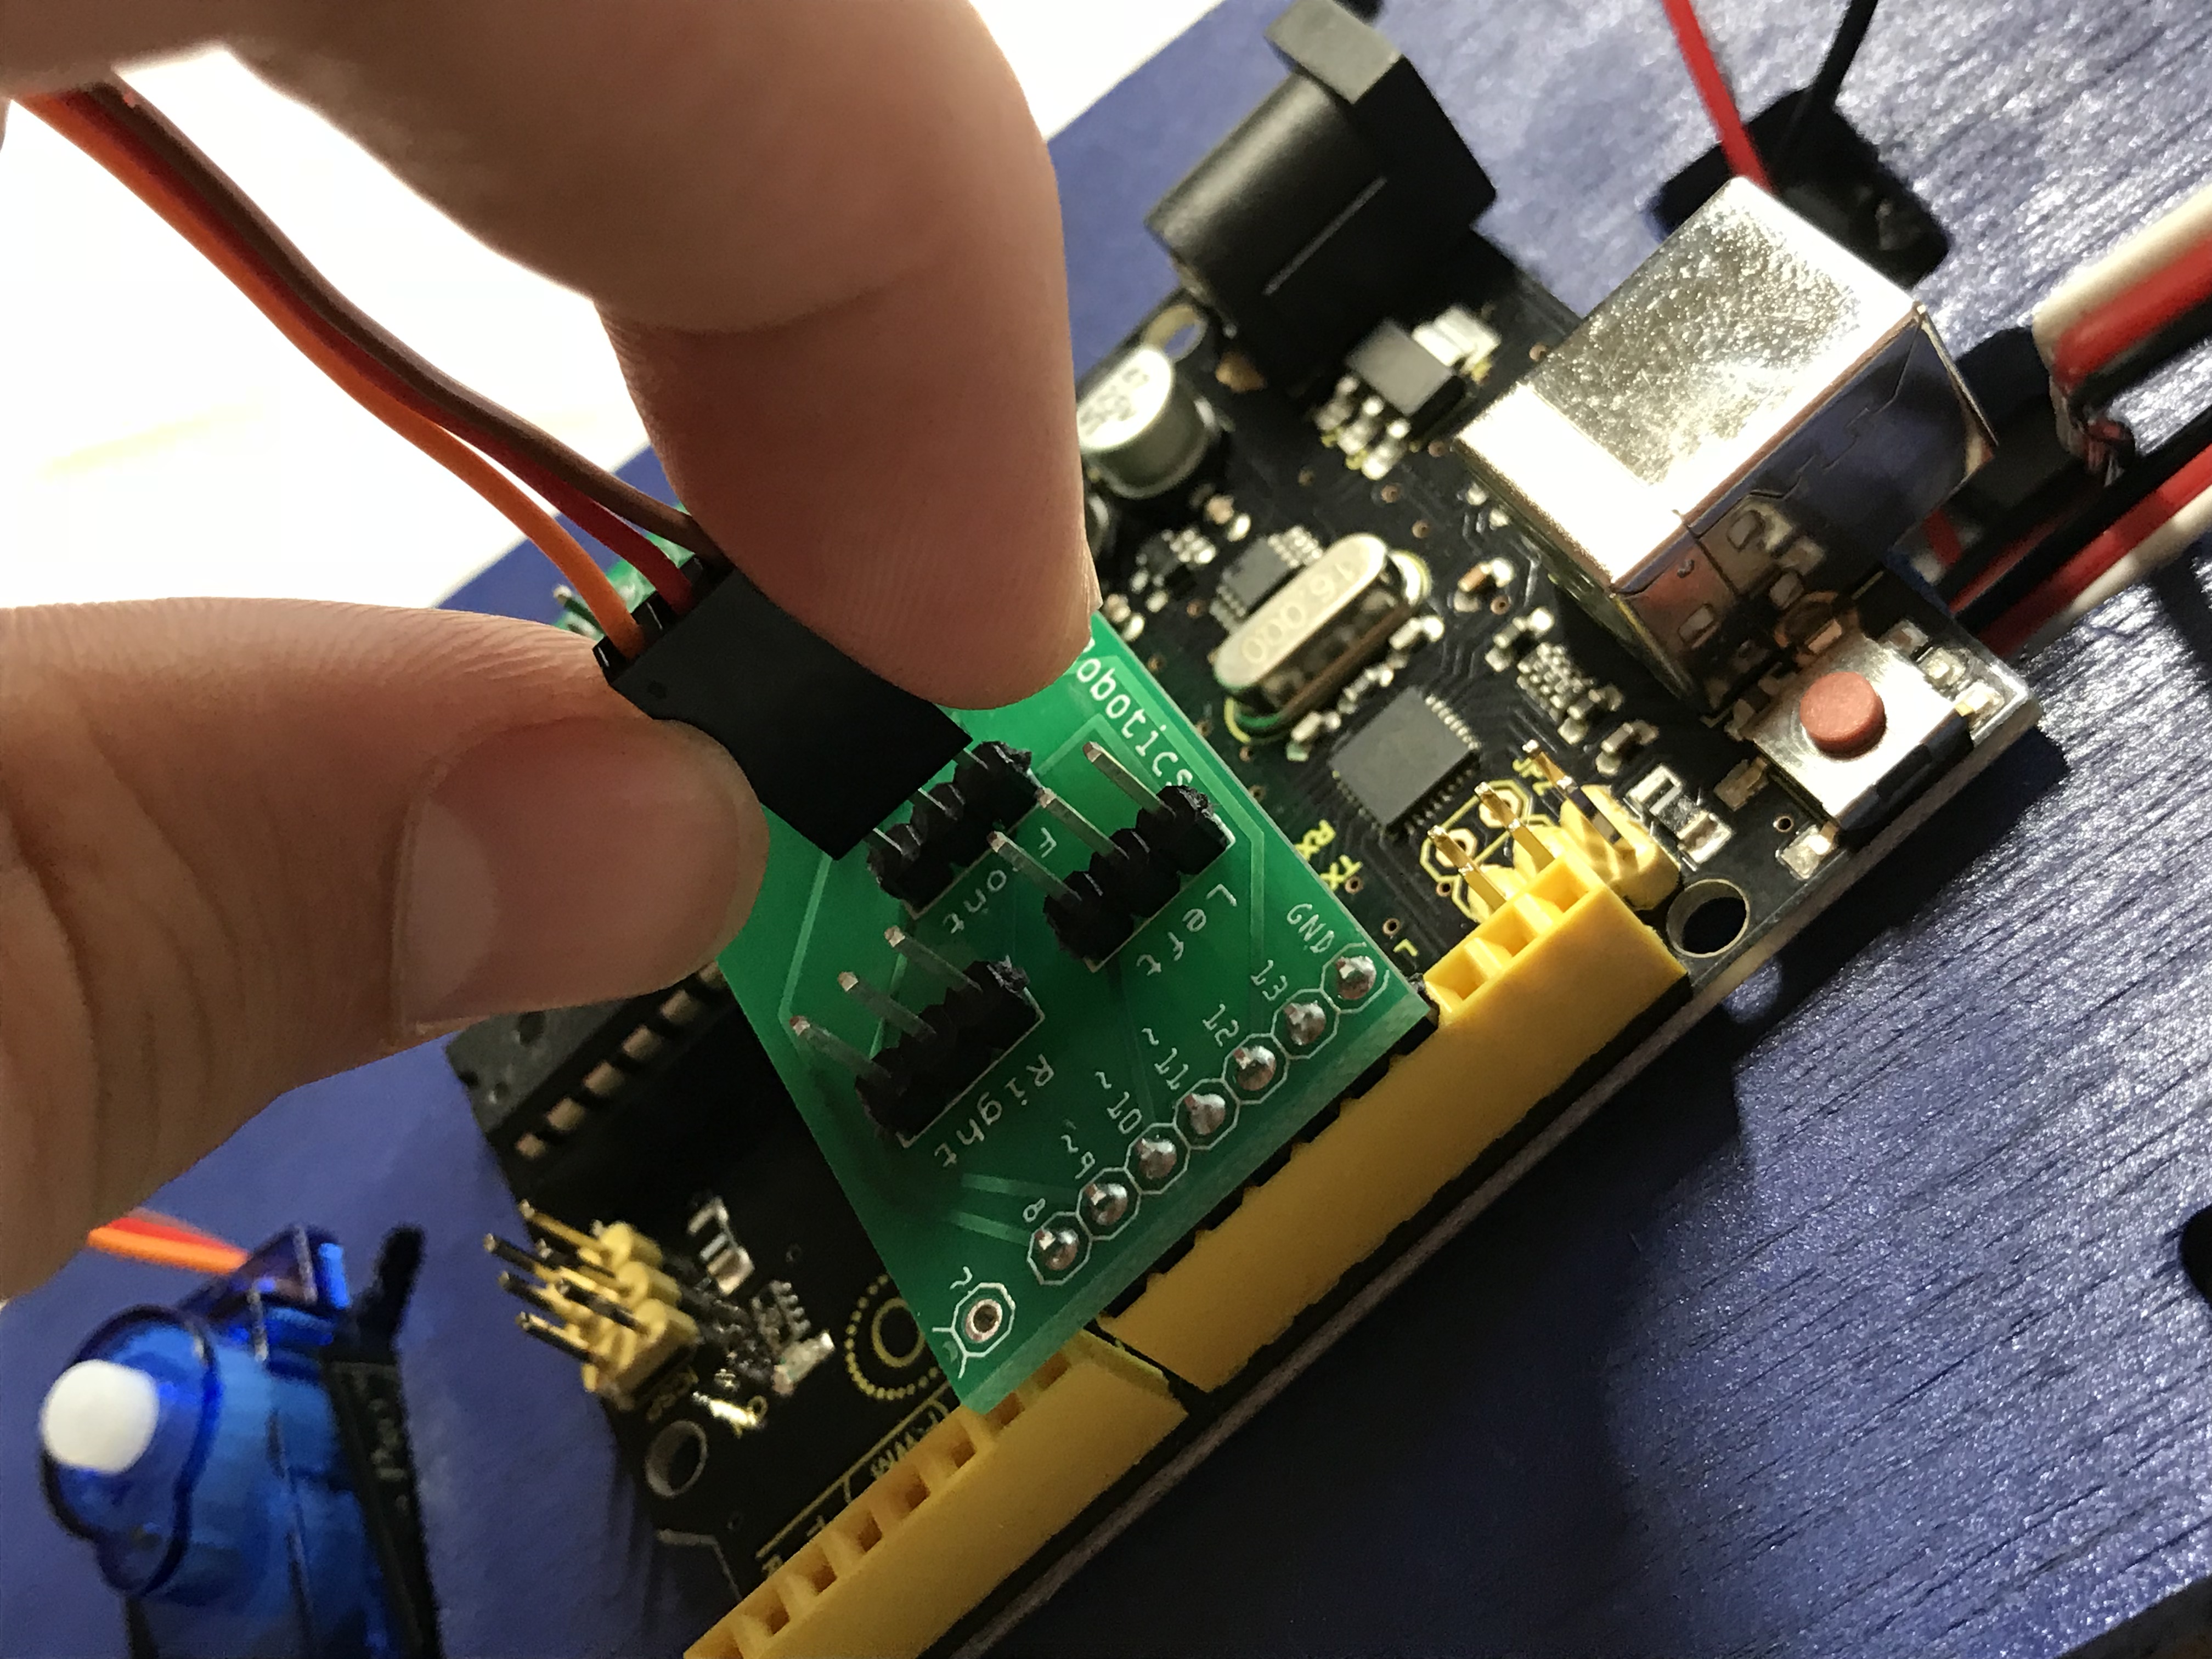
- Attach the servo wire to the circuit board on the pins labeled front
- the brown wire should be closest to the hartland robotics printing

Controlling the Servo with code
Create a tab for the wall finder
- Press the Sketch Action menu button. This is the down arrow located in the upper right corner of the arduino IDE.
- Select the New Tab option
- At the bottom of the screen, you are being asked for a name for your new tab. Enter wallfinder and press the OK button.
Setup the rotator
- Declare a Servo called rotator
- Create a variable to hold which pin the rotator will communicate with the Arduino through
- Create a setup function
- Attach the servo to the specified pin
- Center the servo so that we have a known position to call forward
- Add a call to you setup function inside of the mazerunner setup method
Testing
Right now, the code inside of loop in the mazerunner tab is set up to test the chassis. Now, all you need is the servo initialization to take place so that the rotator will be positioned correctly
- Remove the code from the loop method
- Compile and deploy to the Arduino. This will position the servo where we need it for the next exercise.
