Part 1: Attaching Arduino to Chassis
Chassis Orientation
The first step in building your robot is to understand the orientation of the chassis.
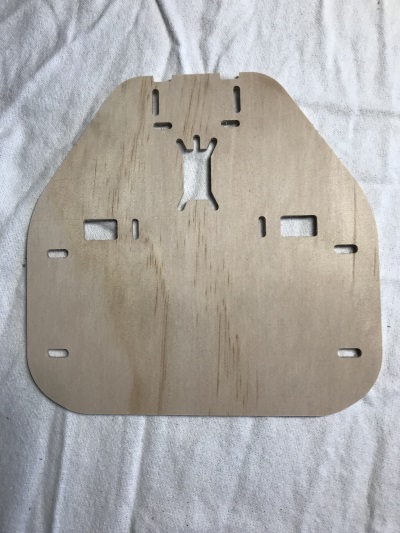
- The edge of the chassis that is tapered is the front of the robot.
Set the chassis in front of you so that it looks like this:

Attach the Arduino
- Locate the Arduino in your kit.
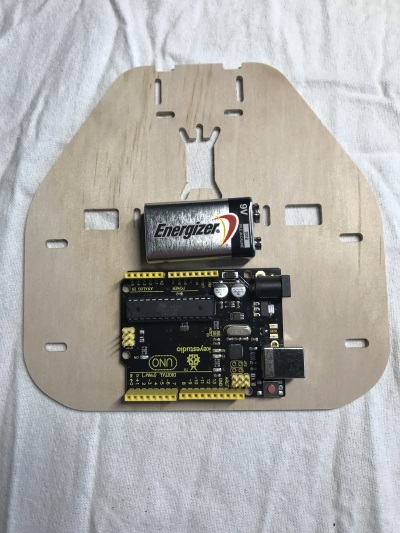
- Turn the Arduino so that the power and USB ports are facing the right side of the robot.
- Attach the Arduino to the rear of the chassis using a double stack of double sided tape making sure to leave room for the 9V battery we will be using later

Attach the Circuit Board
- Locate the circuit board in your kit.
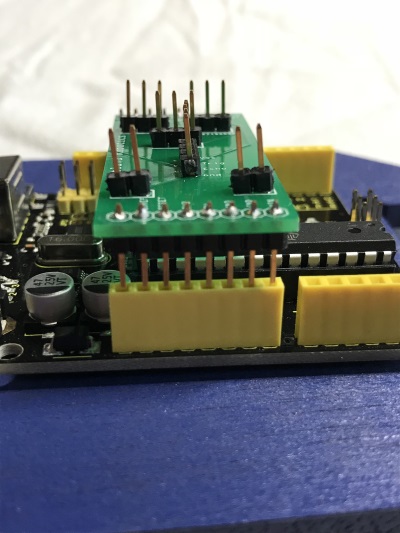
- Be careful inserting the circuit board so you do not bend any pins!
- Attach it to the Arduino making sure that the pins line up correctly.
- Note that one side of the circuit board has numbers (8, 9, 10, etc.)
- These should line up with the exact same number on the arduino.
- Similarly, the labels on the other side of the circuit board should match the arduino.
- Please ask a mentor to verify the circuit board placement

