Part 2: Attaching Battery Pack
Battery Pack
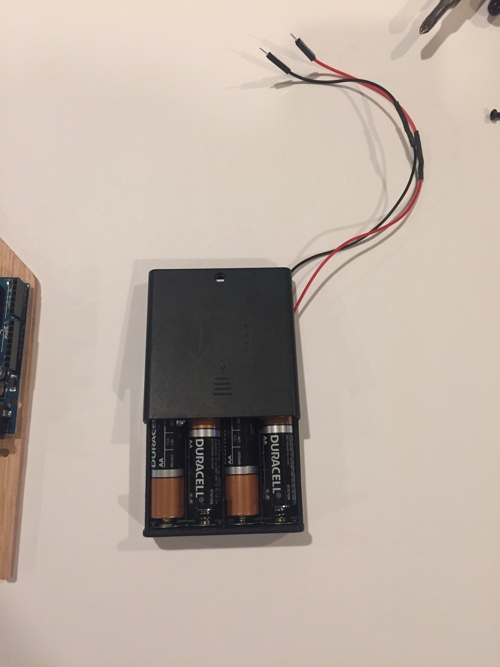
Take a look at your battery pack.
- Locate the on/off switch.
- Make sure the switch is in the off position
- Slide open the battery pack and insert the batteries.

- Turn over your robot so that you can see the bottom side of the chassis
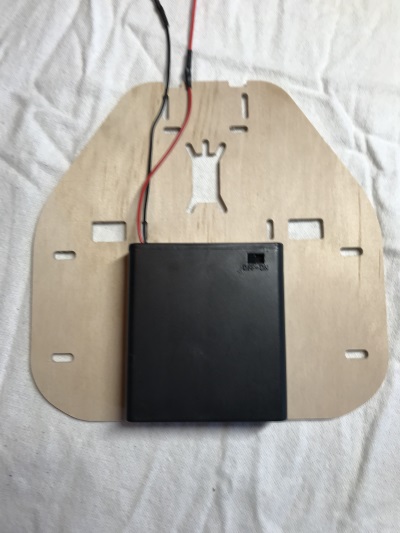
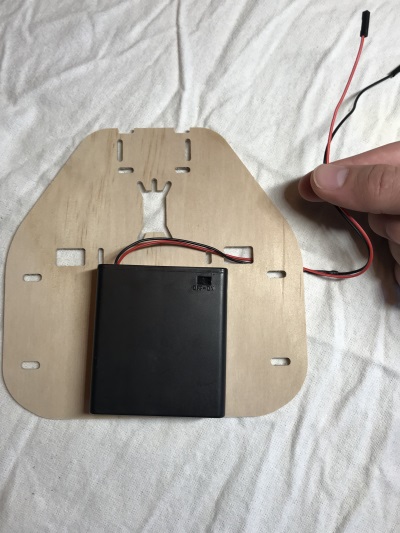
- Close the pack back up and attach it to the chassis.
- Make sure the wires are facing the front of the robot when you attach them.
- Make sure you do not cover any of the access holes in the chassis
- The pack should be as close to the back of the robot as possible

- Route the wires through one of the two holes wiring holes in the chassis

- Turn over the robot so you can see the top
- Place the red and back wires on the 6V pins on the circuit board
- The black wire should be closer to the hartland robotics printing on the circuit board.
- If you are unsure about where to place the wires, make sure to ask one of the mentors. Plugging in the battery pack to the wrong location can damage your robot. Make sure this is absolutely correct.

